We routinely receive questions in the Gmail Help Community on how to bring over emails from other email service providers, and in some cases, the other provider may not support POP3 or is not supported by Gmailify or the ShuttleCloud API or may experience a known issue.
For those circumstances, the most convenient method would be to use an email client like MS Outlook, Thunderbird, Mac or Apple Mail and follow the steps suggested below:
- Setup both the accounts as using IMAP.
- Allow the email client to download emails from both accounts.
- Set up the necessary folders in the destination account (in this case Gmail), which will show up as labels in the Gmail web UI.
- Move, Copy or Drag 'n Drop emails from the folders/inbox of the source account to the folders in the destination (Gmail) account.
- When your destination (Gmail) account in the email client syncs with the server, it would show the emails from the other account.
Note:
- This is a manual process so it needs to be performed periodically to ensure the destination (Gmail) account is regularly updated.
- I shall be bringing over emails from the Saved folder in my AOL account over to my Gmail account.
- For this testing, I have opted to use Thunderbird. I have skipped including the descriptions and screenshots of the first two steps as my primary focus is on the importing of emails.
This is how the Gmail and the AOL accounts look label/folder-wise in their web UI.


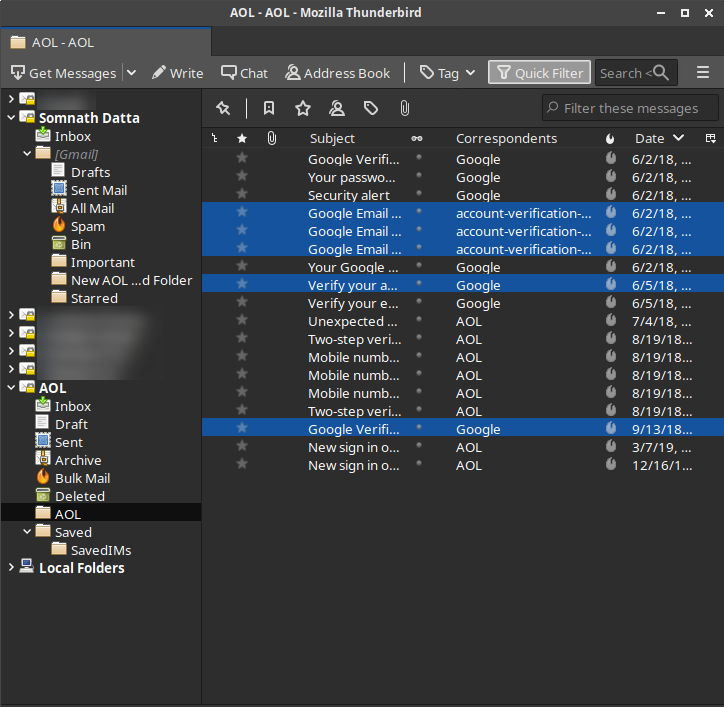
The following screenshots show how the two accounts show up in Thunderbird.


As per the steps mentioned above, our first task would be to set up the necessary folders in the destination account (in this case Gmail) on Thunderbird, which will show up as labels in the Gmail web UI. This is done by right-clicking on the [Gmail] label and then clicking on the New Subfolder option.

This will display the New Folder creation window. Where we would need to enter the name of the Folder and click on the Create Folder button.

Once done, the "New AOL Saved Folder" shows up under [Gmail] in Thunderbird. It is also displayed as a [Gmail]/New AOL Saved Folder label in the Gmail standard view web UI.

Note: Subfolders can also be created under the Inbox folder in Thunderbird. In that case, the label in the Gmail standard web UI is created as Inbox/Label Name in Gmail.
Now we proceed to copy/move the emails over from our source folder in the AOL account to the destination folder in the Gmail account. It is helpful to remember that this needs to be repeated for every folder from which emails need to be copied or moved over.
I personally prefer using Copy as it leaves a fallback option in case something goes awry. I then return to remove the copied emails from the source folder if required once the process has been completed.
As previously mentioned, I shall be bringing over emails from the Saved folder in my AOL account. So, I click on that folder, select all emails, right-click, choose the Copy to option and select the destination folder.

Once the process starts, we can check the progress at the bottom-left corner.

Once the process completes, the copied emails can be seen under the destination New AOL Saved Folder.

Finally, a side-by-side comparison of the imported emails in the Gmail account on Thunderbird and the Gmail standard view web UI.

To use the Drag 'n Drop method, we first need to select the emails. You are at liberty to choose single or multiple emails. To cover all situations, I have chosen to select multiple, successive and isolated emails.


Comments
Post a Comment
Please do not post spam or promote your own site(s). All comments are moderated and such comments will not be published.
Also, please keep your comment relevant to the topic of the article.
Finally, please do not post any of your personally identifiable information such as phone number, email address or other important details as this is an open platform.